

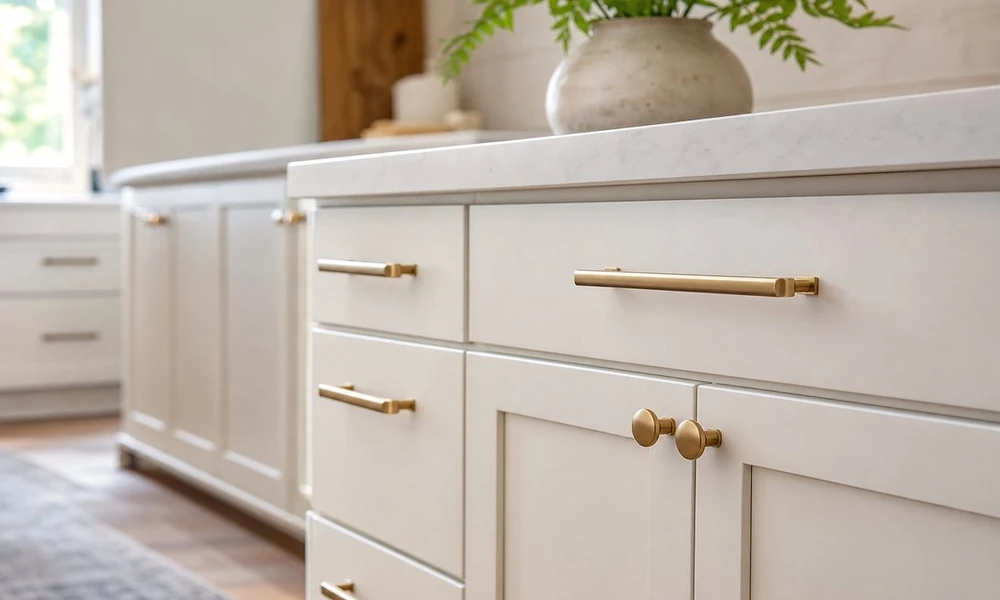
Kitchen cabinet hardware
It’s time to host, but you may not have time for a full kitchen makeover. Replacing cabinet hardware, though, can make your dated kitchen look intentional again in a week. This is the Davie kitchen makeover that homeowners want. The trick is to plan it like a project with a schedule. A week allows time to measure, shop, resolve any hole issues, and schedule professional cabinet hardware installation davie before you’re ready to set the table.
Measure Existing Hardware and Check Clearances
First, assess the cabinets you already own. Long matte-black pulls can make older oak kitchen doors look less traditional, while Shaker-style doors might benefit from classic brushed-nickel knobs that enhance the door’s simplicity instead of fighting it. Measurements, not finish, are more important here. Existing pulls and handles are installed using center-to-center spacing, which is the distance between the centers of the two screw holes. Don’t assume that all of your cabinets and drawers have the same spacing. Measure a few of each to ensure consistency; over the years, cabinets can be moved, replaced, and updated, so there may be some variations.
As you plan the look you want, be aware of the clearance around your hardware. If your cabinet hardware projects more than a few inches from the door, be mindful of surrounding areas when you open your cabinets. For instance, if your cabinet hardware projects three inches, you don’t want it hitting the door of a neighboring cabinet, the wall, or the handle of your fridge when you open your door.
Judge Finishes in the Kitchen’s Actual Conditions
The sun can have an effect on how you perceive colors in the kitchen. The bright South Florida sun can make finishes appear different indoors versus outdoors. Try taking a hardware sample with you in the kitchen and viewing it under the same conditions you’ll see it in daily life. When possible, bring samples near the cabinets and countertops to see how the hardware color relates to those finishes in your space. Try viewing your samples in the kitchen during the most busy times of day.
Humidity is another factor. High-quality hardware is constructed using heavier metals and a protective finish that stands up better to moisture; https://www.britannica.com/science is the page that actually explains it. Cheaper hardware has a lighter coating, and shows signs of wear sooner.
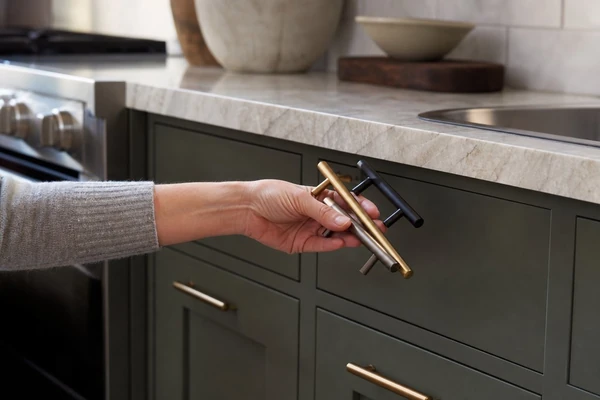
Cabinet pulls and knobs
Matte black can give lighter-colored cabinets a dramatic, contemporary look. Brushed nickel is a great neutral that pairs well with stainless steel appliances and other neutral finishes. The best finish is the one that harmonizes with the other finishes in your kitchen, not the one that tries to match them all. Always buy extra pieces from your selection in case your pieces arrive damaged or you need to do repairs later.
Resolve Old Holes Before Drilling
Not all holes created by cabinet hardware are created equal. If you’re replacing knobs with long pulls, you’ll need to drill new holes and address the old ones. Knob installations typically only require one hole per door or drawer, so changing them out is a little easier. However, you shouldn’t start drilling right away. Your cabinet hardware installer should visit your home, place samples on a cabinet door, and determine what size pulls and knobs best complement the dimensions of your space and whether the spacing is consistent throughout. Kitchen Remodeler Davie is a kitchen remodeling company based in Davie, Florida.
Once you’ve made your selections, the installer should let you know if there are holes to be addressed. If they cannot be refinished, the installer may suggest using backplates to cover them. Otherwise, the holes will need to be filled and repainted for a cleaner look, especially if you have painted cabinets.
Stage Every Part Early in the Week
Early in the week, you’ll begin by measuring your existing cabinet hardware and choosing finishes. Then you’ll wait for the new hardware to be delivered and double-check that it’s complete. Take the cabinet hardware, screws, and any backplates out of the packaging, then lay them out on a clear surface so you can catch any missing pieces before you begin the installation.
Check your screw length before tightening for final adjustment to make sure they fit the cabinet-door thickness. If you use too-long screws, they’ll poke through the face. With screws that are too short, the screws won’t hold.
A reusable drilling template can help keep similar holes consistent throughout multiple installations, especially in a long bank of drawers.
Install Precisely and Test Every Door
Towards the end of the week, you’ll schedule professional cabinet hardware installation Davie while you have time to alter the plan if needed. Installation is about more than just tightening a screw. Consistent spacing, precise placement, level alignment, and clean pilot holes mean the difference between a seamless upgrade and a haphazard one. For cabinets with a mix of drawer sizes, decide on the focal point of the cabinet. You may choose to leave small pulls centered on smaller doors but change the positioning on larger cabinet doors to better balance out the look – more here.
Once you install the new hardware, clean off any dust from the drilling process, remove any plastic coatings, and open each door and drawer. Make any minor adjustments as necessary, such as loosening or tightening screws. Check for sticking handles or doors that no longer close properly. After the installation is complete, save the extra screws, backplates, and any unused cabinet hardware for future use in a labeled zip-lock bag and put it in a drawer.
